

Setting Up the Nexadata REST API
The Nexadata REST API enables integration with third-party applications via OAuth 2.0, providing secure resource authorization and flexible token management. This article walks through creating an OAuth client, configuring token expiration, and managing access credentials within your organization.
Step-by-Step Instructions
Section titled “Step-by-Step Instructions”Step 1: Creating an OAuth Client
Section titled “Step 1: Creating an OAuth Client”To enable API access:
-
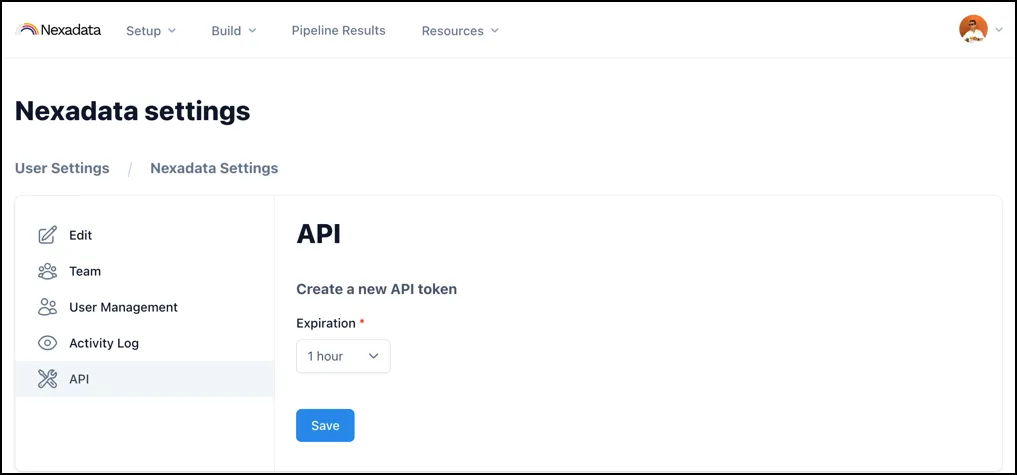
Navigate to Organization Settings in Nexadata.
-
Select API.
Step 2: Configuring Token Expiration
Section titled “Step 2: Configuring Token Expiration”When setting up an OAuth client, you can specify a maximum expiration time for access tokens:
-
Default expiration: 1 hour.
-
Maximum expiration: 1 year.
-
Select an expiration time.
-
Click Save to create a new set of OAuth credentials.
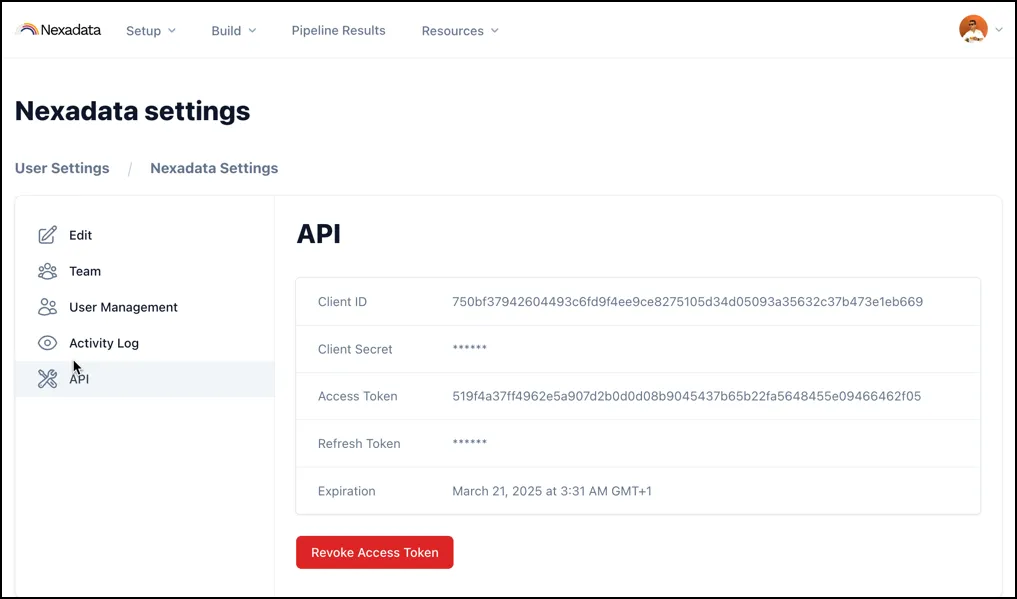
Once the expiration time has elapsed, the refresh token will become invalid, requiring a new set of OAuth credentials, including:
-
Client ID
-
Client Secret
-
Access Token
Step 3: Revoking Tokens
Section titled “Step 3: Revoking Tokens”For added security, you can revoke API tokens at any time:
- Use the Revoke Access button to invalidate active tokens and prevent unauthorized access.
Step 4: Execute Workflows
Section titled “Step 4: Execute Workflows”- See an example of Executing Workflows via the Nexadata API.
Step 5: Download Workflow Output
Section titled “Step 5: Download Workflow Output”- See an example of Downloading Workflow Output via the Nexadata API.